
In my earlier blog, we learned about the 74HC595 shift register. In that blog we learned to connect LEDs to all output pins of shift register. As we know that all those connected LEDs had full brightness. In this blog, we will learn how to control the brightness of those LEDs. To control the brightness … Continue reading Shift Register controlling brightness

Security System using an Ultrasonic Sensor HC-SR04
Components needed Ultrasonic Sensor Piezo(buzzer) An LED A resistor Jumper cables Breadboard Arduino Board A computer with the Arduino IDE installed Completed Circuit The image above is the completed circuit for the security system. We will build a simple security system using an ultrasonic sensor where if something is stolen, the piezo (buzzer) will buzz … Continue reading Security System using an Ultrasonic Sensor HC-SR04

74HC595 Shift Register
What is a shift register? When should we use it? A shift register is an Integrated Circuit (IC), which allows us to expand the number of pins we can use on our Arduino Board (in fact, any micro-controller). So far we learned about many different components and sensors like an LED, buzzer, RGB LED, DHT11 … Continue reading 74HC595 Shift Register

Temperature and Humidity Sensor (DHT11)
Components needed DHT11 Sensor Jumper cables A breadboard An Arduino Board A computer with the Arduino IDE installed Completed Circuit The Program #include <DHT.h> #include <DHT_U.h> DHT dht(2, DHT11); float tempInCelcius; float tempInFarenheit; float humidity; void setup() { Serial.begin(9600); Serial.println("Humidity and Temperature Sensor Program"); dht.begin(); } void loop() { delay(2000); tempInCelcius=dht.readTemperature(); humidity=dht.readHumidity(); tempInFarenheit=tempInCelcius*9/5+32; Serial.print("Humidity = … Continue reading Temperature and Humidity Sensor (DHT11)
Piezo (Buzzer)
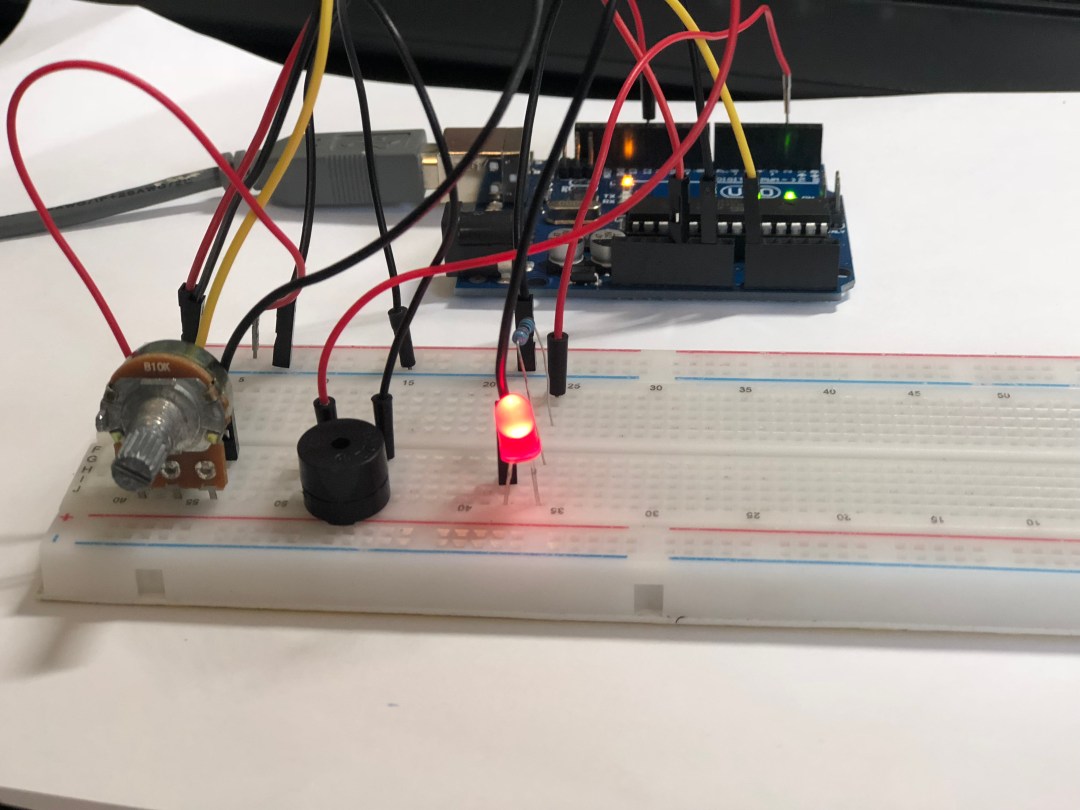
Components needed Piezo (buzzer) An LED A resistor A potentiometer Jumper cables Arduino Uno Board Breadboard A computer with the Arduino IDE installed Completed Circuit The image above shows the completed circuit using the buzzer along with the potentiometer (my favorite component) and the LED. The buzzer is a very simple component. It has two … Continue reading Piezo (Buzzer)
Photoresistor
Components needed Photoresistor LED Resistors Jumper cables Arduino Uno board Breadboard A USB Cable A computer with the Arduino IDE installed Completed Circuit The circuit above shows the use of a photoresistor. As we learned in the previous blog, the resistance changes in potentiometer by turning the knob. Similarly the resistance in of the photoresistor … Continue reading Photoresistor
