Components needed
- Piezo (buzzer)
- An LED
- A resistor
- A potentiometer
- Jumper cables
- Arduino Uno Board
- Breadboard
- A computer with the Arduino IDE installed
Completed Circuit


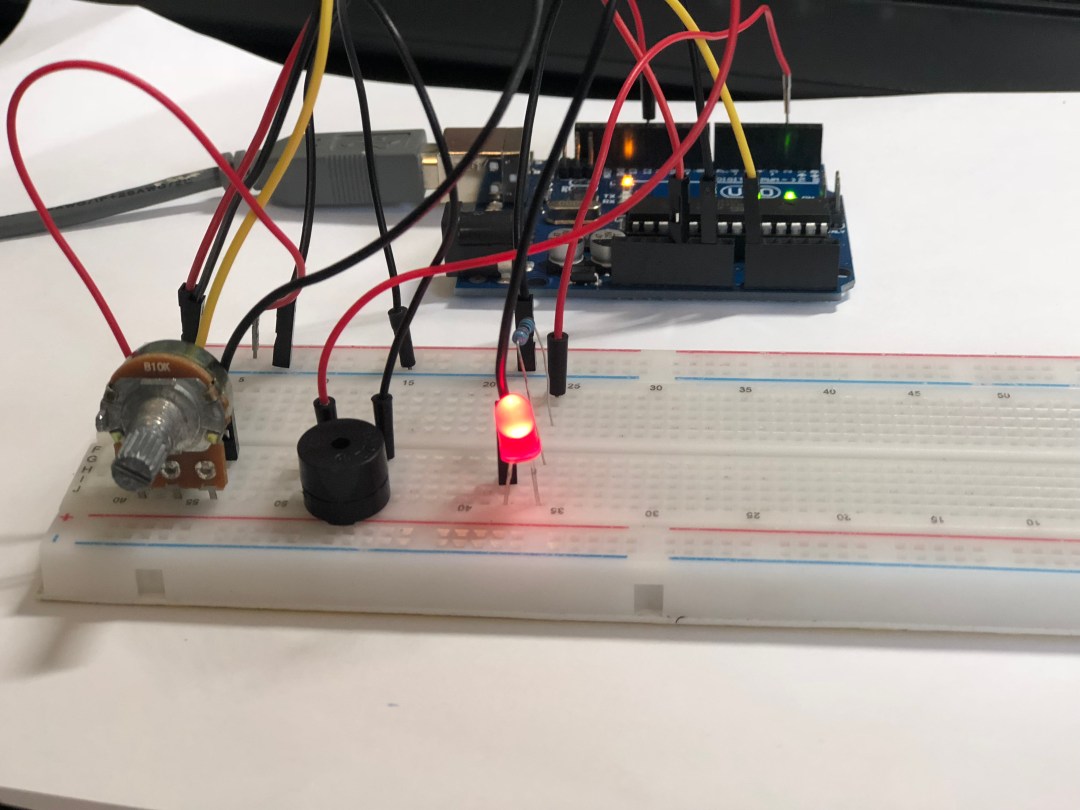
The image above shows the completed circuit using the buzzer along with the potentiometer (my favorite component) and the LED.
The buzzer is a very simple component. It has two legs. One for ground and one for power/pin.
We can generate sound in buzzer using tone function.
tone(pin, frequency)tone(pin, frequency, duration)
The function tone (pin, frequency) will make buzzer make sound for given frequency indefinitely until we stop it using noTone function.
The function tone (pin, frequency, duration) will make the buzzer make sound for given frequency for given duration (in milliseconds) and then buzzer will stop.
In the circuit shown above, we are using potentiometer for variable frequency instead of hard coding it for some specific frequency. Also, I put an led in the circuit which turns on when the buzzer is buzzing and turns off when the buzzer is off.
The Program
int knobValue;
int ledPin=2;
int buzzerPin= 13;
int wiperPin=A0;

void setup()
{
  pinMode(ledPin, OUTPUT);
  pinMode(buzzerPin, OUTPUT);
  pinMode(wiperPin, INPUT);
}

void loop()
{
  knobValue = analogRead(A0);
  tone(buzzerPin, knobValue);
  digitalWrite(ledPin,HIGH);
  delay(1000);
  noTone(buzzerPin);
  digitalWrite(ledPin,LOW);
  delay(1000);
  digitalWrite(ledPin,HIGH);
}