Components needed
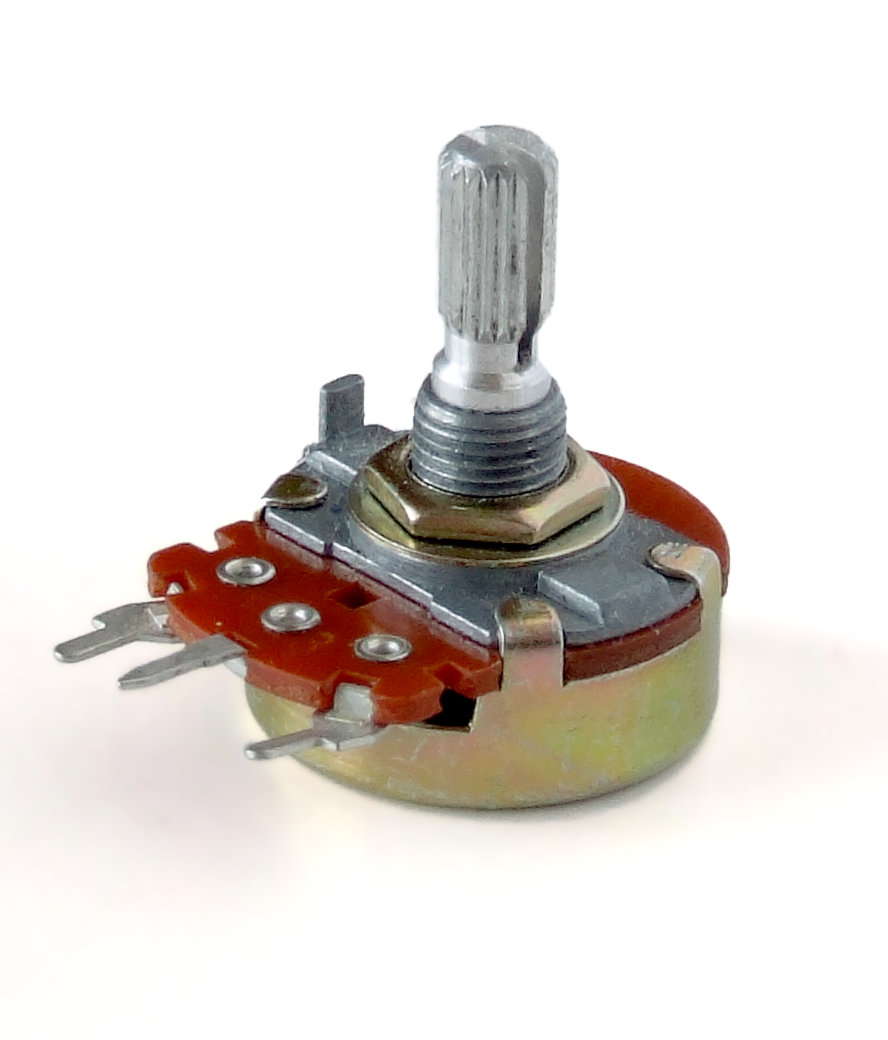
- Potentiometer
- LED
- Resistor
- Jumper cables
- Arduino Uno Board
- Breadboard
- USB cable
- Computer with Arduino IDE installed
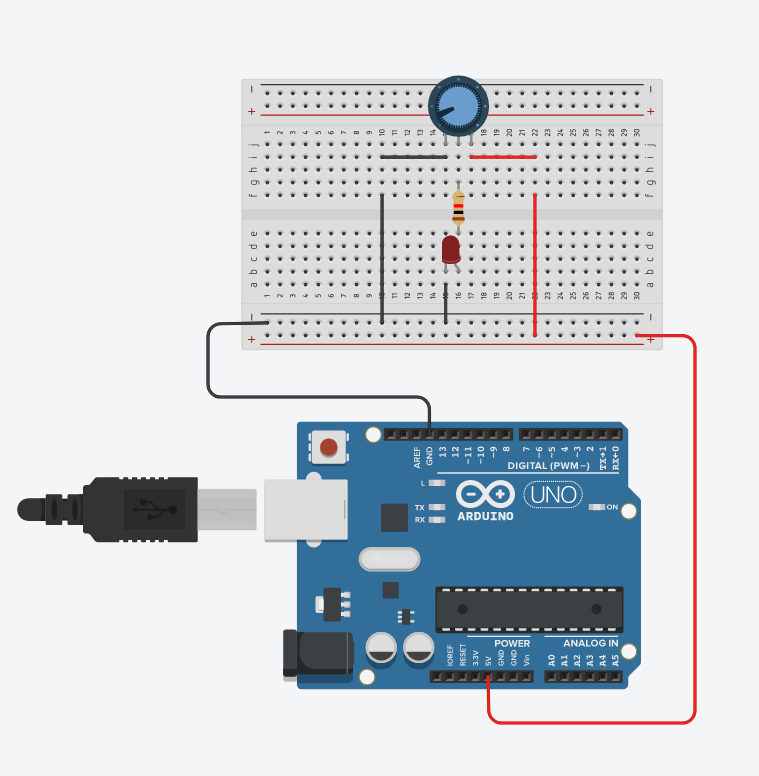
Completed Circuit

Potentiometer is a variable resistor. It has three legs (pins). Left most pin is for the power, right most pin is for the ground and middle pin is connected to sliding contact, called wiper, which produces variable amount of resistance as we turn the knob left or right.
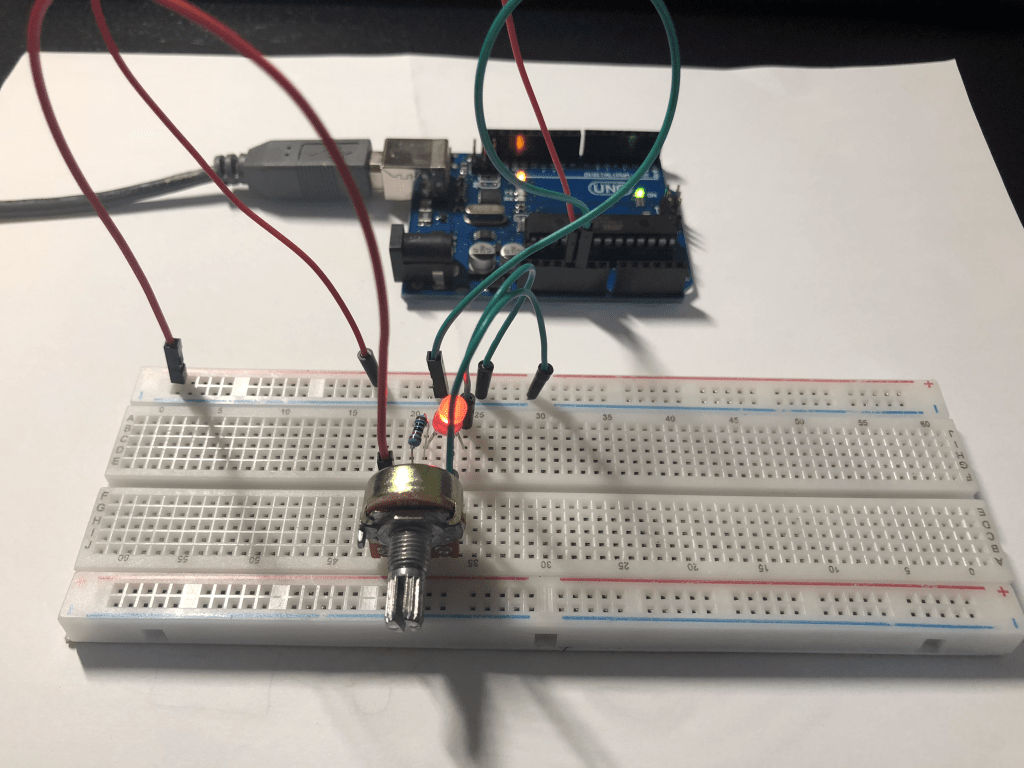
Image above shows the completed circuit showing the potentiometer in use. I am using the Arduino board just for the power and ground. I am not programming anything for now. I will do some programming around potentiometer in my next blog. I am simply changing the brightness of the red led using a potentiometer.
The Potentiometer is like a variable resister instead of fix resister. We can change the amount of resistance by turning the knob. If we turn the knob all the way to the right, it gives full resistance to the circuit which means low power hence dim LED.
If we turn the knob all the way to the left, it gives minimal resistance to the circuit means high power and the led will bright up fully.
I still use the fix resistor to prevent led from blowing up if potentiometer releases too much of the power.

hi Aarav, seems like you are still working on this project. I will be waiting… good luck
LikeLiked by 1 person
very well explained Aarav. It’s great to learn with/from you. 🙂 keep it up mate!!!!
LikeLike