
In this tutorial, we build a robotic arm using 2 servo motors, and we will control them using 2 potentiometers. If you do not know how to use a servo motor, then click here to refer to my previous blog which explains servo motors. If you do not know how to use a potentiometer, then click here which also refers to my previous blog which explains potentiometers.
Components Needed
- 2 Servo Motors
- 2 Potentiometers
- Arduino Uno Board
- Breadboard
- Jumper Cables
- USB Cable
- A computer to run the program
- Optional: Popsicle Stick
How will we build the robotic arm?
As stated above, we use 2 servo motors to build the robotic arm. The 2 potentiometers will control each of the servo motors. The images below show the robotic arm built with 2 potentiometers.
The Circuit


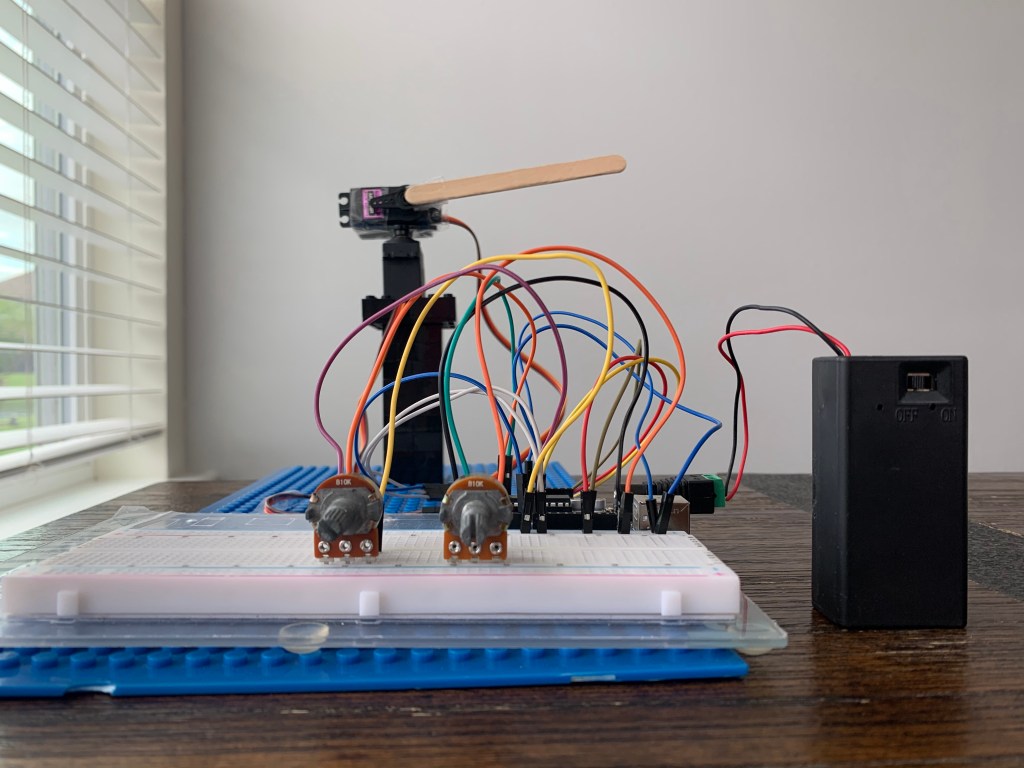

The image above shows the completed circuit of the robotic arm.
The connections are simple. Servo motors have 3 pins. The ground, power, and digital pin. The same applies for the potentiometer, but instead of a digital pin, we connect to an analog pin. This is because the potentiometer produces a variable amount of resistance. Now let’s get coding!
The Code
#include <Servo.h>
Servo servomotor;
Servo servomotor2;

void setup() {

servomotor.attach(8);
servomotor2.attach(7);

}
void loop(){

servomotor.write(map(analogRead(A0), 0, 1023, 0, 100));
servomotor2.write(map(analogRead(A1), 0, 1023, 0, 100));


}
The code is simple. We include the library of the servo motors so that we can operate them. Then we map the potentiometer’s output to the servo motor’s input. By doing this, we can make the servo motors rotate according to the potentiometer’s output.
As we turn the knob of the potentiometer to the left, the servo motor will rotate along with the potentiometer in one direction. If we turn the knob of the potentiometer to the right, the servo motor will rotate in the opposite direction. The video below shows a demonstration of controlling the robotic arm using potentiometers.
Demo
