
Components Needed
- KY-038 Sound Sensor
- LED Light
- Resistor
- Jumper Cables
- Arduino Uno board
- Breadboard
- USB Cable
- A computer to run the program
“What exactly is the KY-038 Sound Sensor, and what are its operational principles?”
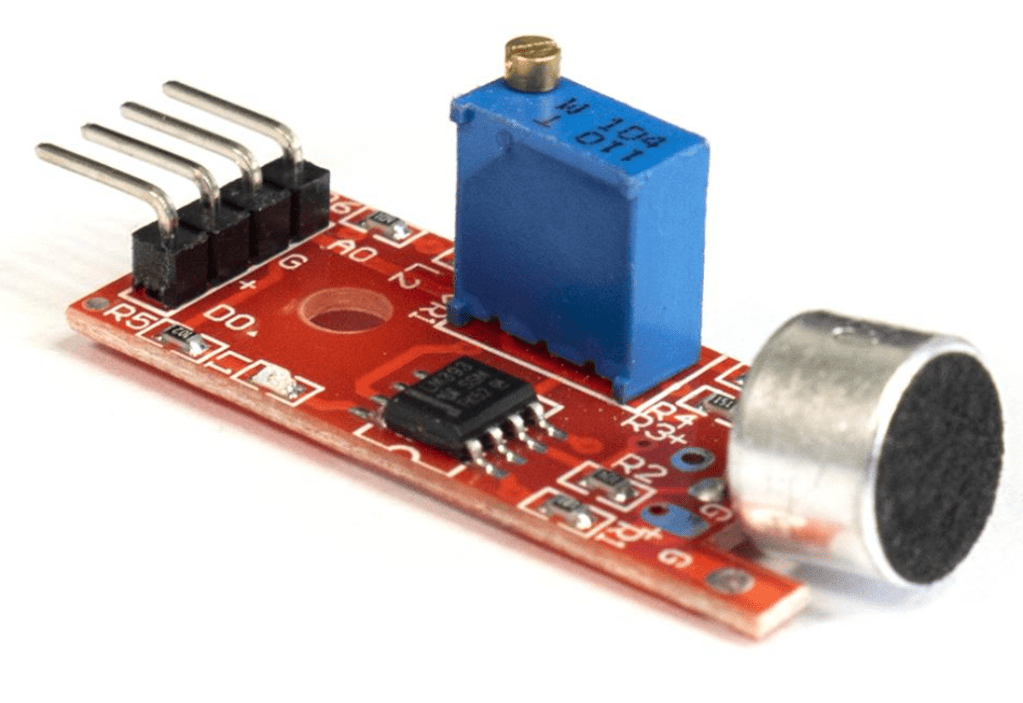
he KY-038 Sound Sensor serves the purpose of detecting sound. Illustrated in the image provided, this sensor comprises an electret microphone positioned atop it, serving as the sound receiver. Additionally, the sensor features a built-in blue potentiameter, designed to regulate sensitivity.
The electret microphone structure consists of a diaphragm and a backplate, aligned parallel to each other. When sound is directed toward the microphone, it generates sound waves. These waves impact the diaphragm, inducing vibrations, thereby signaling the sensor of sound detection.
As previously mentioned, the sensor integrates a blue built-in potentiometer, facilitating sensitivity adjustment. This adjustment can be executed simply by using a screwdriver to manipulate the gold nail situated atop the potentiometer, either to the left or right.
Moreover, positioned above the four pins located at the sensor’s bottom are two LEDs. The power LED illuminates upon sensor activation, while the status LED lights up upon sound detection by the sensor.
This project entails utilizing the sensor to toggle the LED based on sound detection.
Pin Connections
- (A0) Leave this pin as is
- (G) Connect to ground
- (+) Connect to the 5V pin
- (D0) Connect this pin to a digital pin
The Circuit
Below is the circuit diagram representing the fully assembled sound sensor setup.

The Code
Here is the program code for the KY-038 Sound Sensor.
int soundSensor=3;
int LED=7;
boolean ledStatus=false;
int sensorData;

void setup() {
 pinMode(soundSensor,INPUT);
 pinMode(LED,OUTPUT);
 Serial.begin(9600);
}

void loop() {

 sensorData = digitalRead(soundSensor);

  if(sensorData==1){

     ledStatus = digitalRead(LED);
     digitalWrite(LED, !ledStatus);
     delay(1000);

  }
 }
In the program, we initialize variables for the sound sensor and the LED. Additionally, we create a variable named “sensorData” to read values from the sound sensor. Furthermore, a boolean variable named “ledStatus” is introduced to store the LED’s current state.
Within the loop function, we employ an “if” statement to check if the sensorData equals 1, indicating sound detection by the sound sensor. If so, the LED’s status will be toggled, switching it from its current state. This toggle action is achieved by using the logical negation operator (denoted by “!”) preceding “ledStatus”.
